
Your cart is empty
You may check out all the available products and buy some in the shop
Return to shop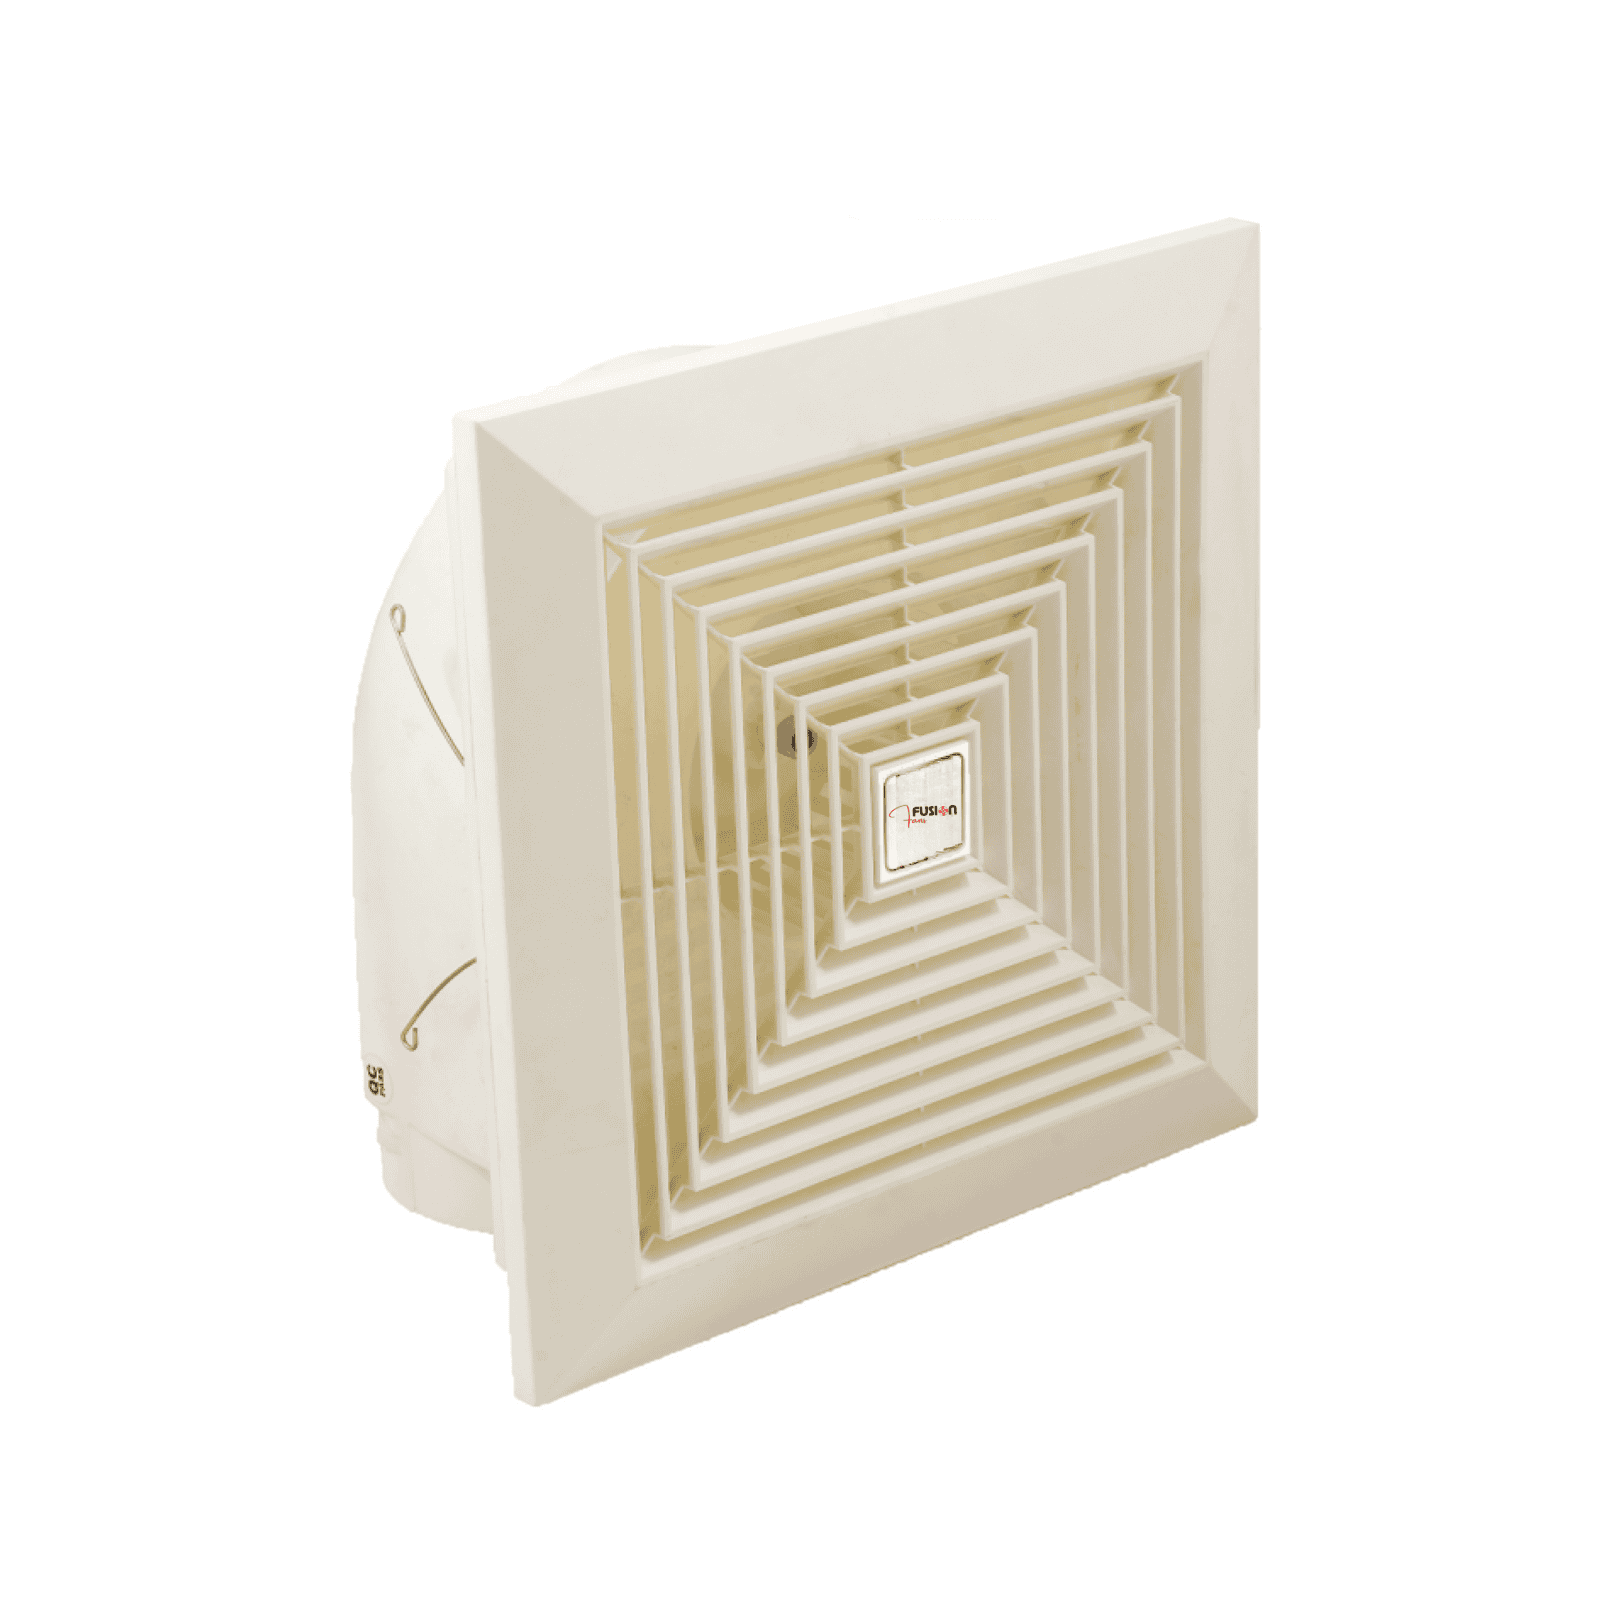
in stock
₨4,800.00
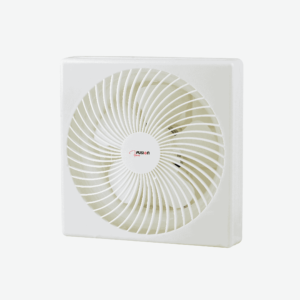
Description:
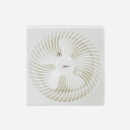
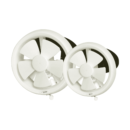
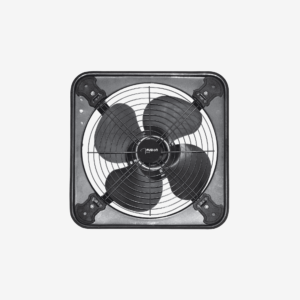
A Ceiling Exhaust fan removes stale air, odors, and excess moisture from a room by venting it outside. Commonly used in kitchens and bathrooms, it improves air quality and prevents mold growth by enhancing ventilation.


Fusion Fans offers a 2-year motor warranty on their AC exhaust fans, covering defects in materials and workmanship. This warranty does not include plastic body parts. For comprehensive warranty details and any exclusions, please refer to the documentation provided with your fan or contact Fusion Fans directly.
To fully understand the warranty coverage, it’s essential to review the specific terms provided with the product documentation. For any questions or further support, Fusion Fans customer service can offer additional details about warranty exclusions, repair options, and replacement services if needed. Having this warranty helps customers protect their investment and maintain optimal performance for their AC Exhaust fans.


Sold out

Bilal –
It’s good