
Your cart is empty
You may check out all the available products and buy some in the shop
Return to shop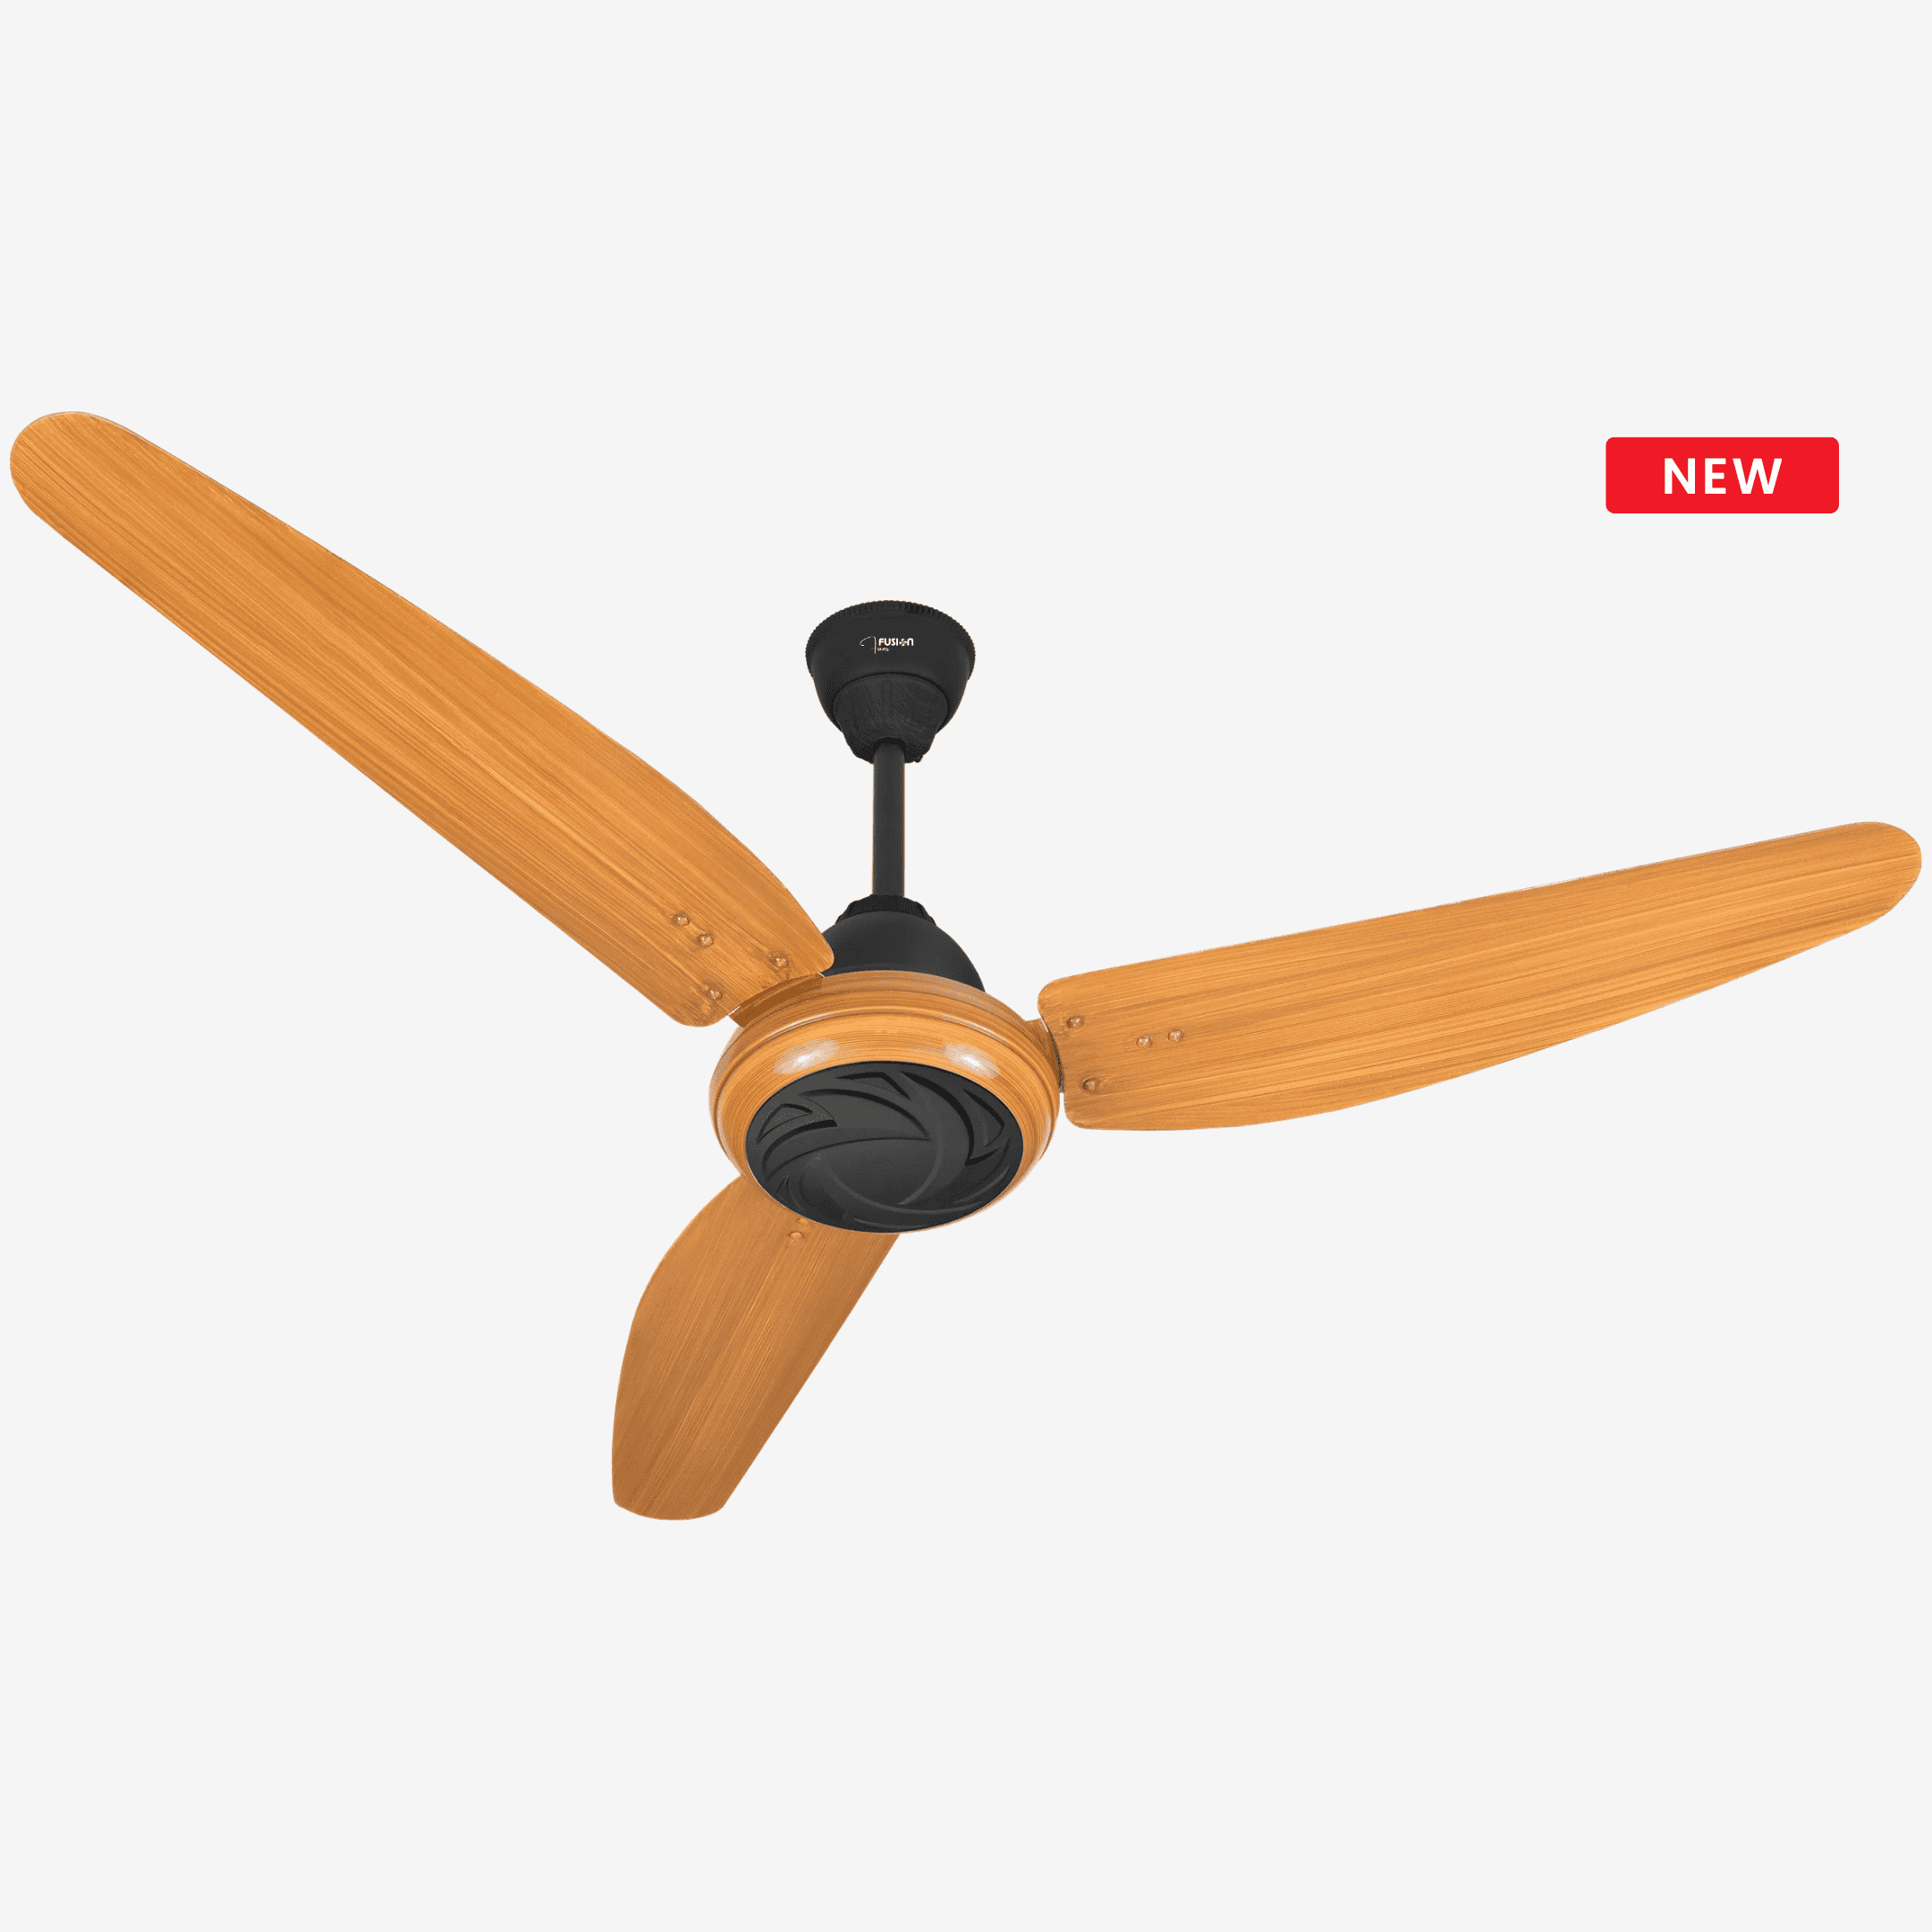
in stock
₨12,400.00
Description
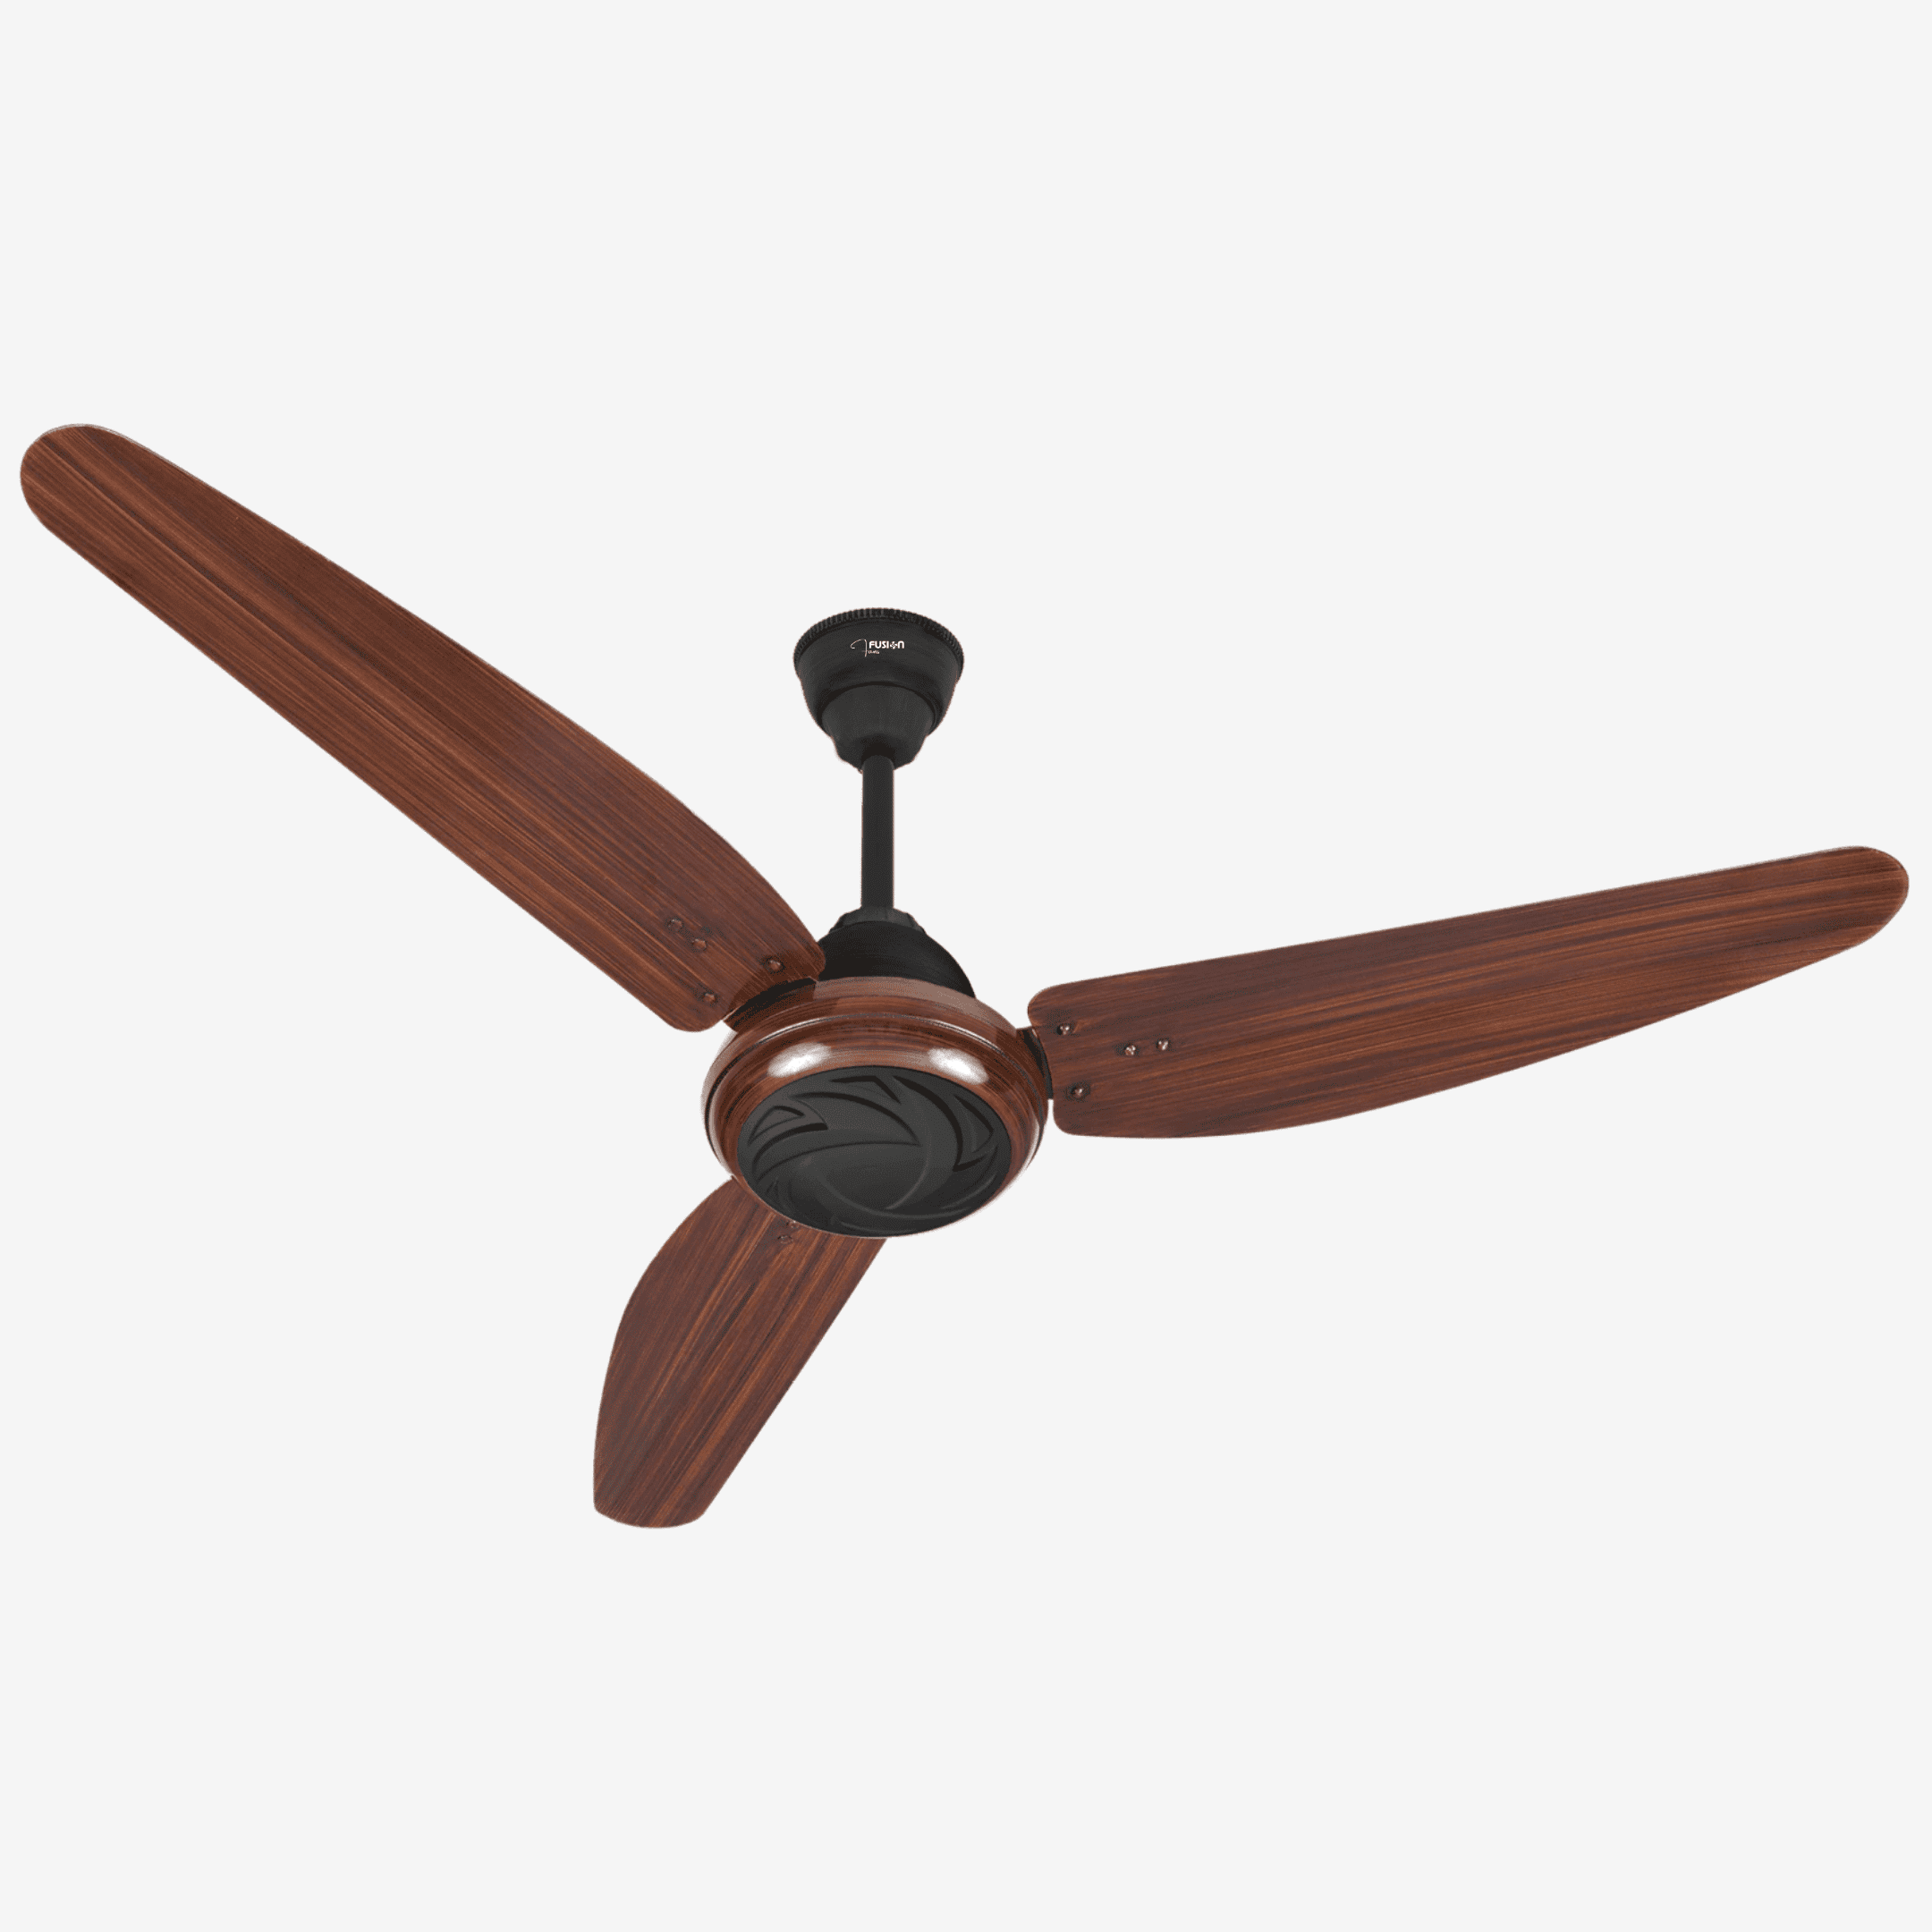
Step into the next generation of home comfort with the Fusion WiFi Fans — Pakistan’s first smart ceiling fan with IoT integration. Enjoy powerful cooling with energy-efficient PMSM motors, and take control via Wi-Fi from your smartphone. Stylish, sleek, and available in multiple colors, it’s cooling—redefined.


Certainly! Below is a step-by-step connecting procedure to pair a Fusion WiFi Fan with the BLDC FAN app:
– Download and install the BLDC FAN app from your device’s app store.
– Open the app and enable Bluetooth.
– After turning on Bluetooth, navigate to the main screen of the app.
– Look for the “+” (plus) icon usually located in the center of the screen.
– Click on the “+” icon to access a drop-down menu.
– After going to the drop-down menu, turn off your fan. Once 5 seconds have passed on the screen, click on the next step.
– After reaching the next step, turn your fan on And Click on ‘Start Scan‘
– The app will initiate a search for available devices, and a radar-like animation will appear.
– Your Fusion WiFi Fan will appear on the screen with a random alphanumeric identifier (e.g., EE : EE : 34 : 03).
– Tap on your device (Fusion Fan) from the list, and press the “Done” button.
– Follow any on-screen instructions to complete the pairing process. This may involve connecting to the fan’s Wi-Fi network or entering a pairing code.
– Once successfully connected, you will receive a confirmation message indicating that your Fusion WiFi Fan is now paired with the BLDC FAN app.
– Return to the main screen of the app, and you will now be able to control your Fusion WiFi Fan directly from your device. Adjust settings such as speed, oscillation, and other features as needed.

Abdullah –
I recently purchased the wifi fan. I am pretty happy with the experience.
Hazir –
It’s very good. I can turn the fan on/off adjust speed and set timers all from my phone using the app.
Hamid –
I like how modern and sleek this fan looks. Connecting it to WiFi took me two tries, but once done, it worked smoothly.
Ahmed –
This wifi fan is fantastic
Hassan –
Such a smart and modern fan.i can set timers and change speed with the Mobile.
Saud –
Mein ny new ghr bnaya usky liyy order kiyy thy ye bht achy haa apka bht bht shukriya.
Noman –
Overall this AC/DC wifi fan works very well.
Wajiullah –
Very happy with the performance.the fan is powerful
Maryam –
Great value.i love that it runs on both AC and DC power,plus wifi control in a big plus
Zubair –
Price ky mutabiq ye bht acha ha or price b iski bht km ha
Faiz –
Mein ny isko apny office ky liyy mngwaya tha ye bht acha LG tha or iska control b bht acha ha.
Abdullah –
I like this fan modern feature.