


Your cart is empty
You may check out all the available products and buy some in the shop
Return to shop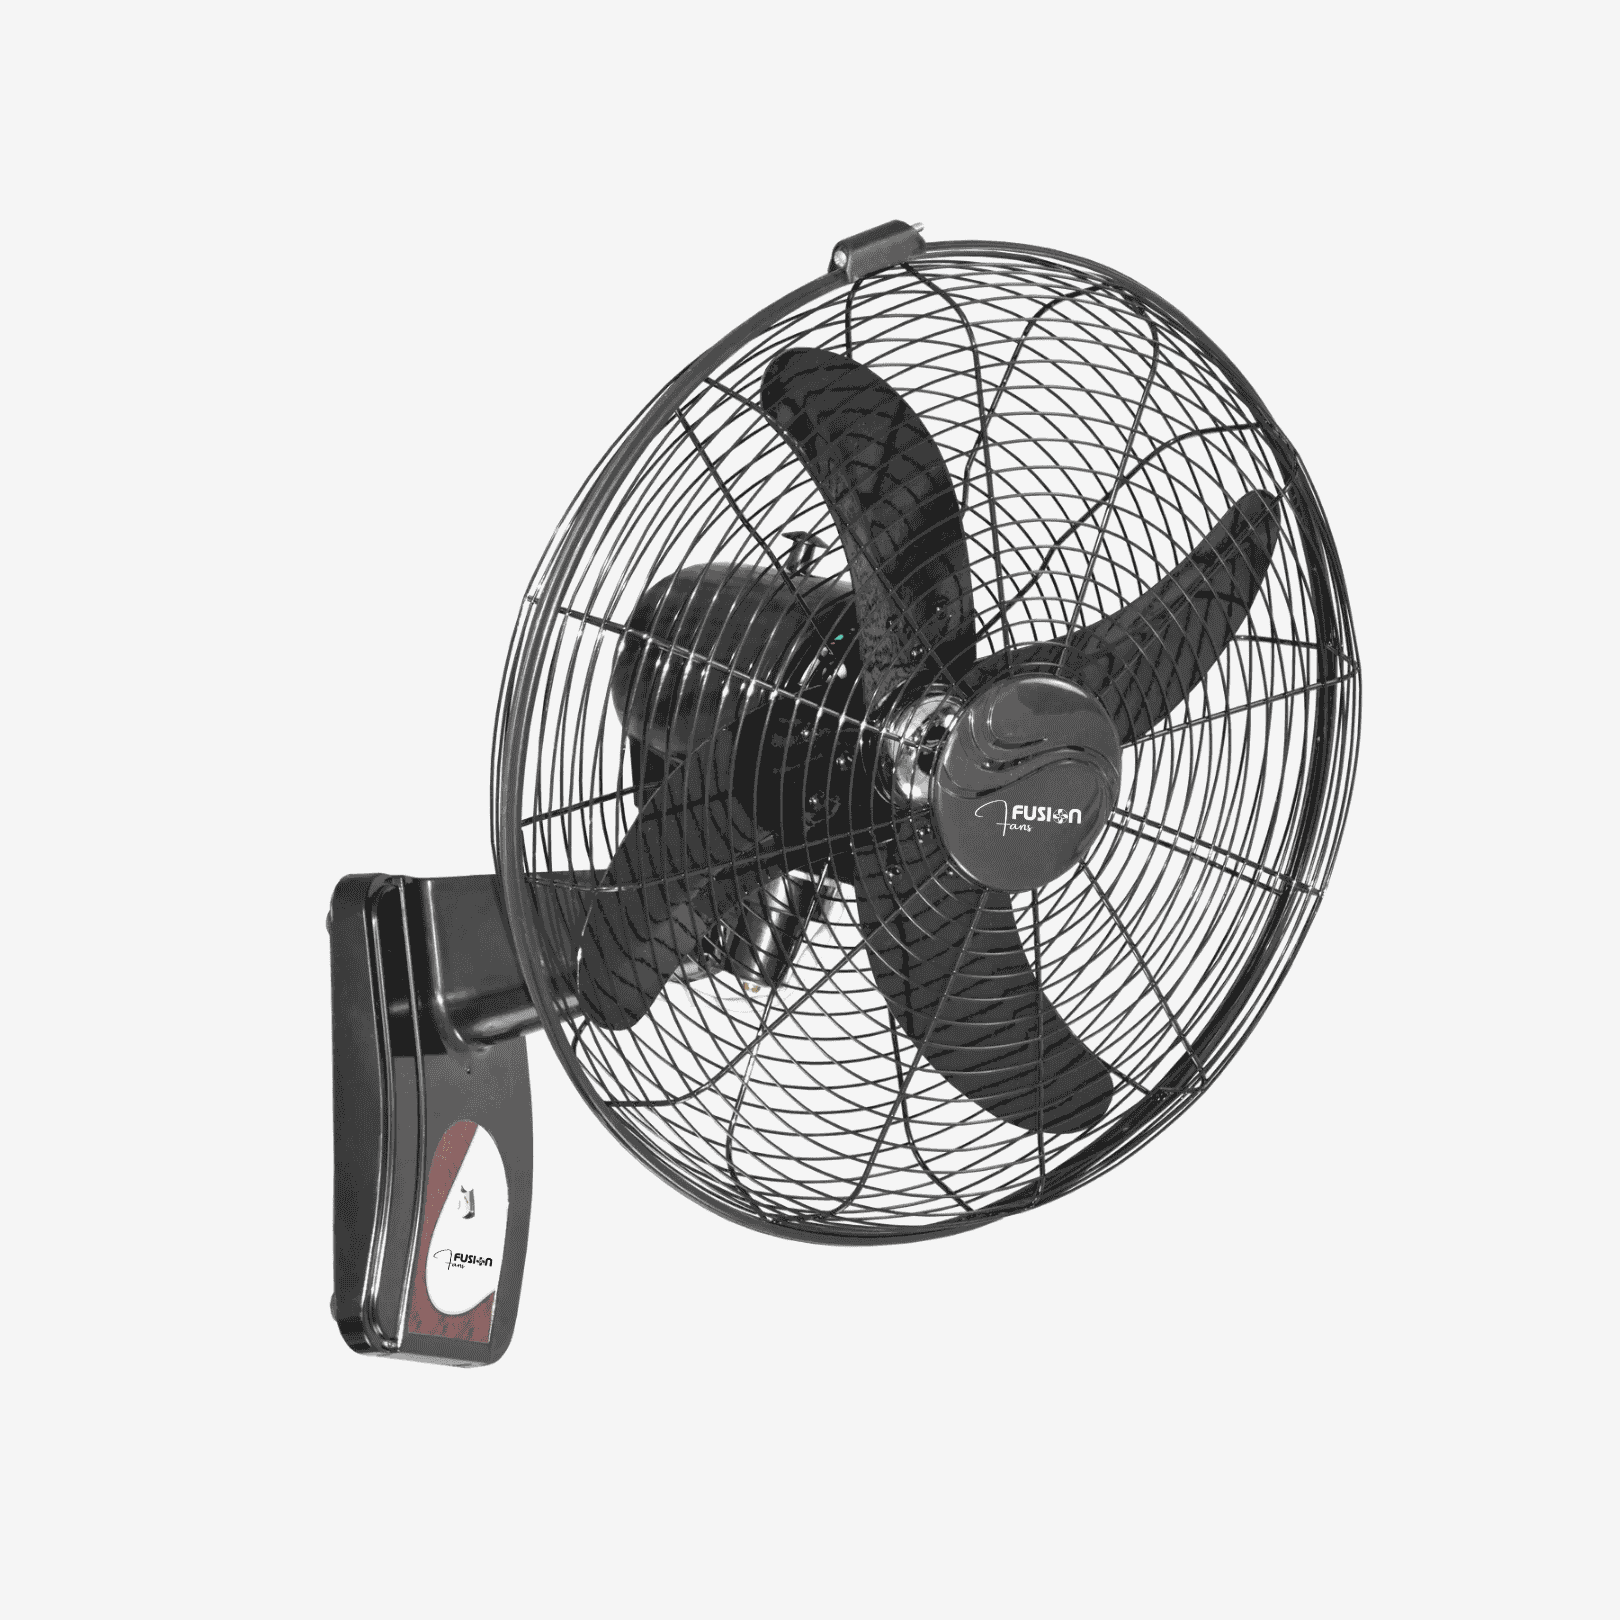
in stock
₨7,000.00
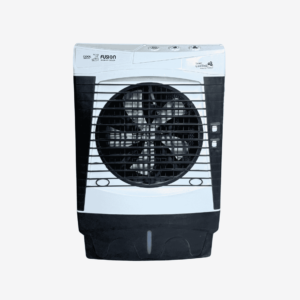
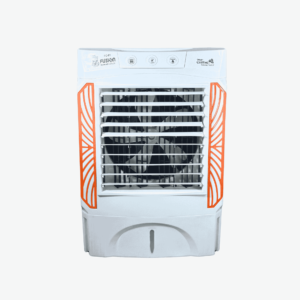
Description:
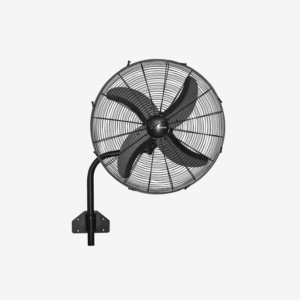
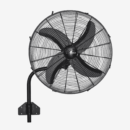
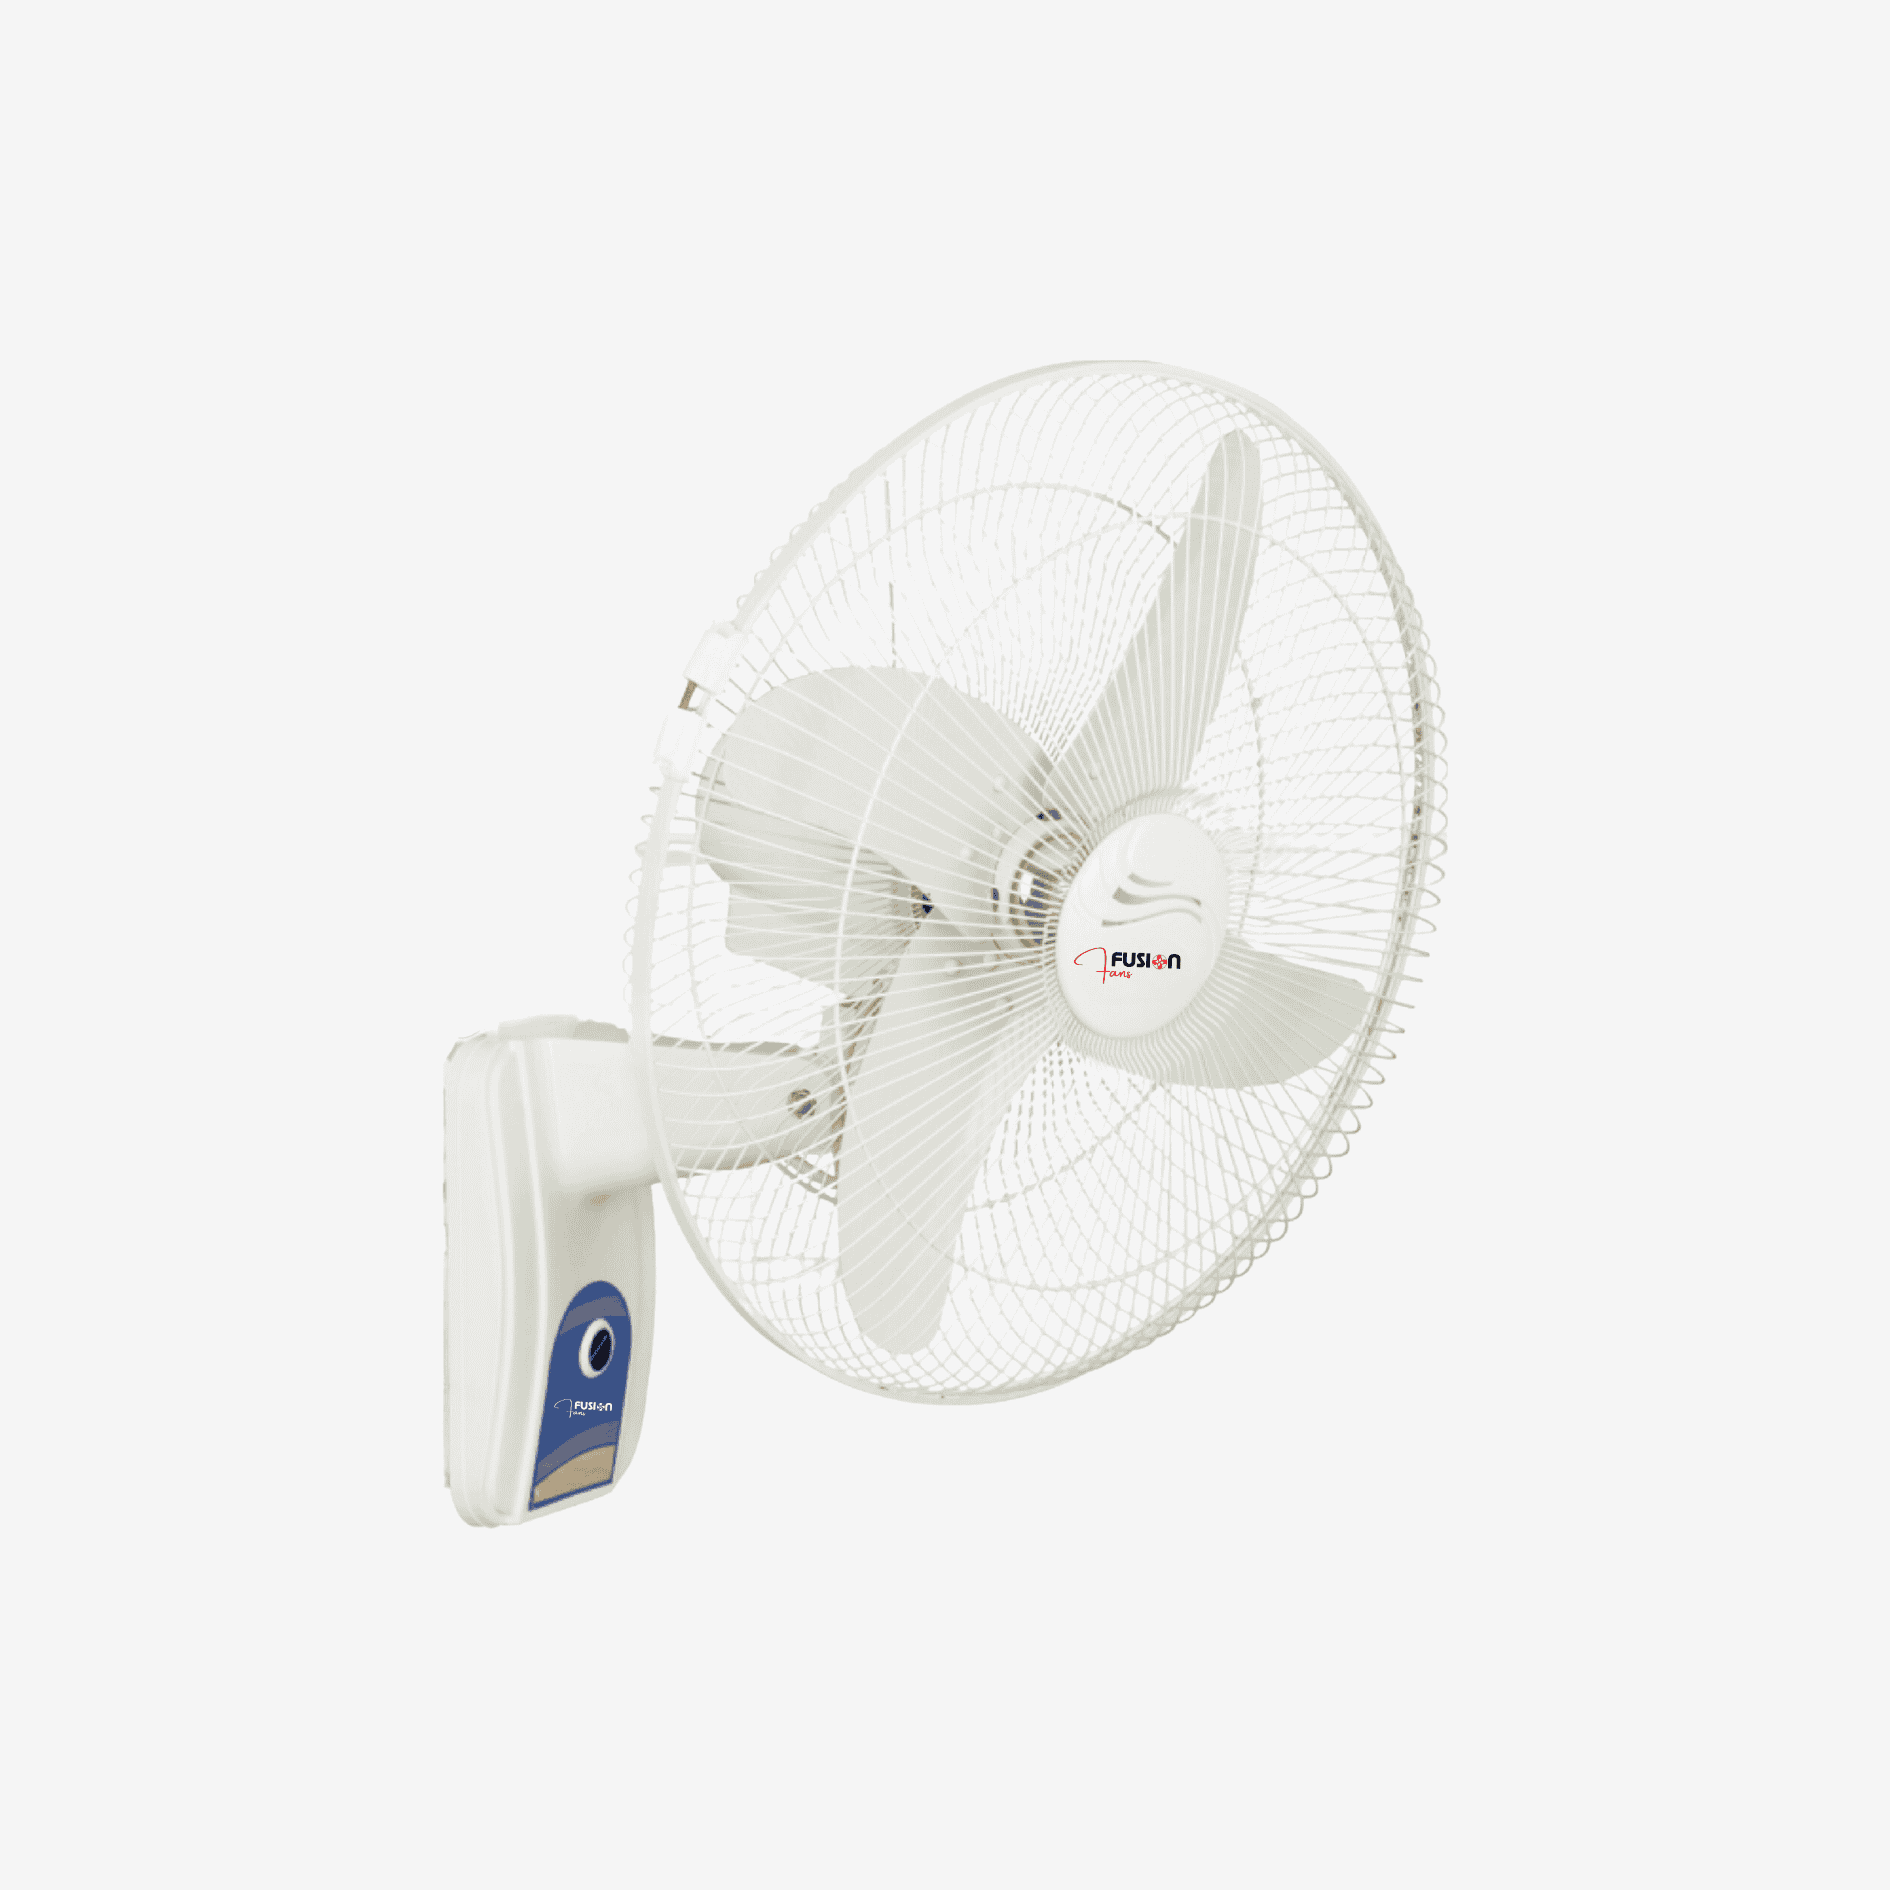
Grace bracket fan is a wall-mounted fan designed to save floor space while providing targeted airflow. It’s adjustable, durable, and ideal for cooling specific areas in homes, offices, or workshops.


Fusion Fans offers a 2-year motor warranty on their AC bracket fans, covering defects in materials and workmanship. This warranty does not include plastic body parts. For comprehensive warranty details and any exclusions, please refer to the documentation provided with your fan or contact Fusion Fans directly.
To fully understand the warranty coverage, it’s essential to review the specific terms provided with the product documentation. For any questions or further support, Fusion Fans customer service can offer additional details about warranty exclusions, repair options, and replacement services if needed. Having this warranty helps customers protect their investment and maintain optimal performance for their AC bracket fans.