Sfair Model | AC-220V Ceiling
in stock
Best seller
Selling fast! 16 people have this in their carts.
₨8,550.00
7 sold in last 12 hours
5
People are viewing this right now
Reviews (2)
SPECIFICATION
SPECIFICATION
- Size : 56”
- Type : Capactior
- Blade : 3
- Sweep : 1400mm
- Warranty : 2 Years
- Rpm : 370 – 390
- Rated Power : 60W – 100W
- Input Voltage : 220 – 240V AC
- Frequency : 50 Hz
- Speed Levels : 3 – 5
INSTALLATION GUIDE
INSTALLATION GUIDE
- 1. Preparation
•Turn Off Power: Switch off the circuit breaker to the room where you’ll install the fan to prevent any electrical hazards.
•Gather Tools: You’ll need a screwdriver, drill, ladder, pliers, wire connectors, a voltage tester, and possibly a wrench.
- 2. Install the Ceiling Mounting Bracket
•Locate the Junction Box: Ensure the junction box in the ceiling is fan-rated to support the fan’s weight.
•Attach the Mounting Bracket: Screw the mounting bracket provided with the fan onto the junction box securely, making sure it’s stable and tightly fastened.
- 3. Assemble the Fan Components
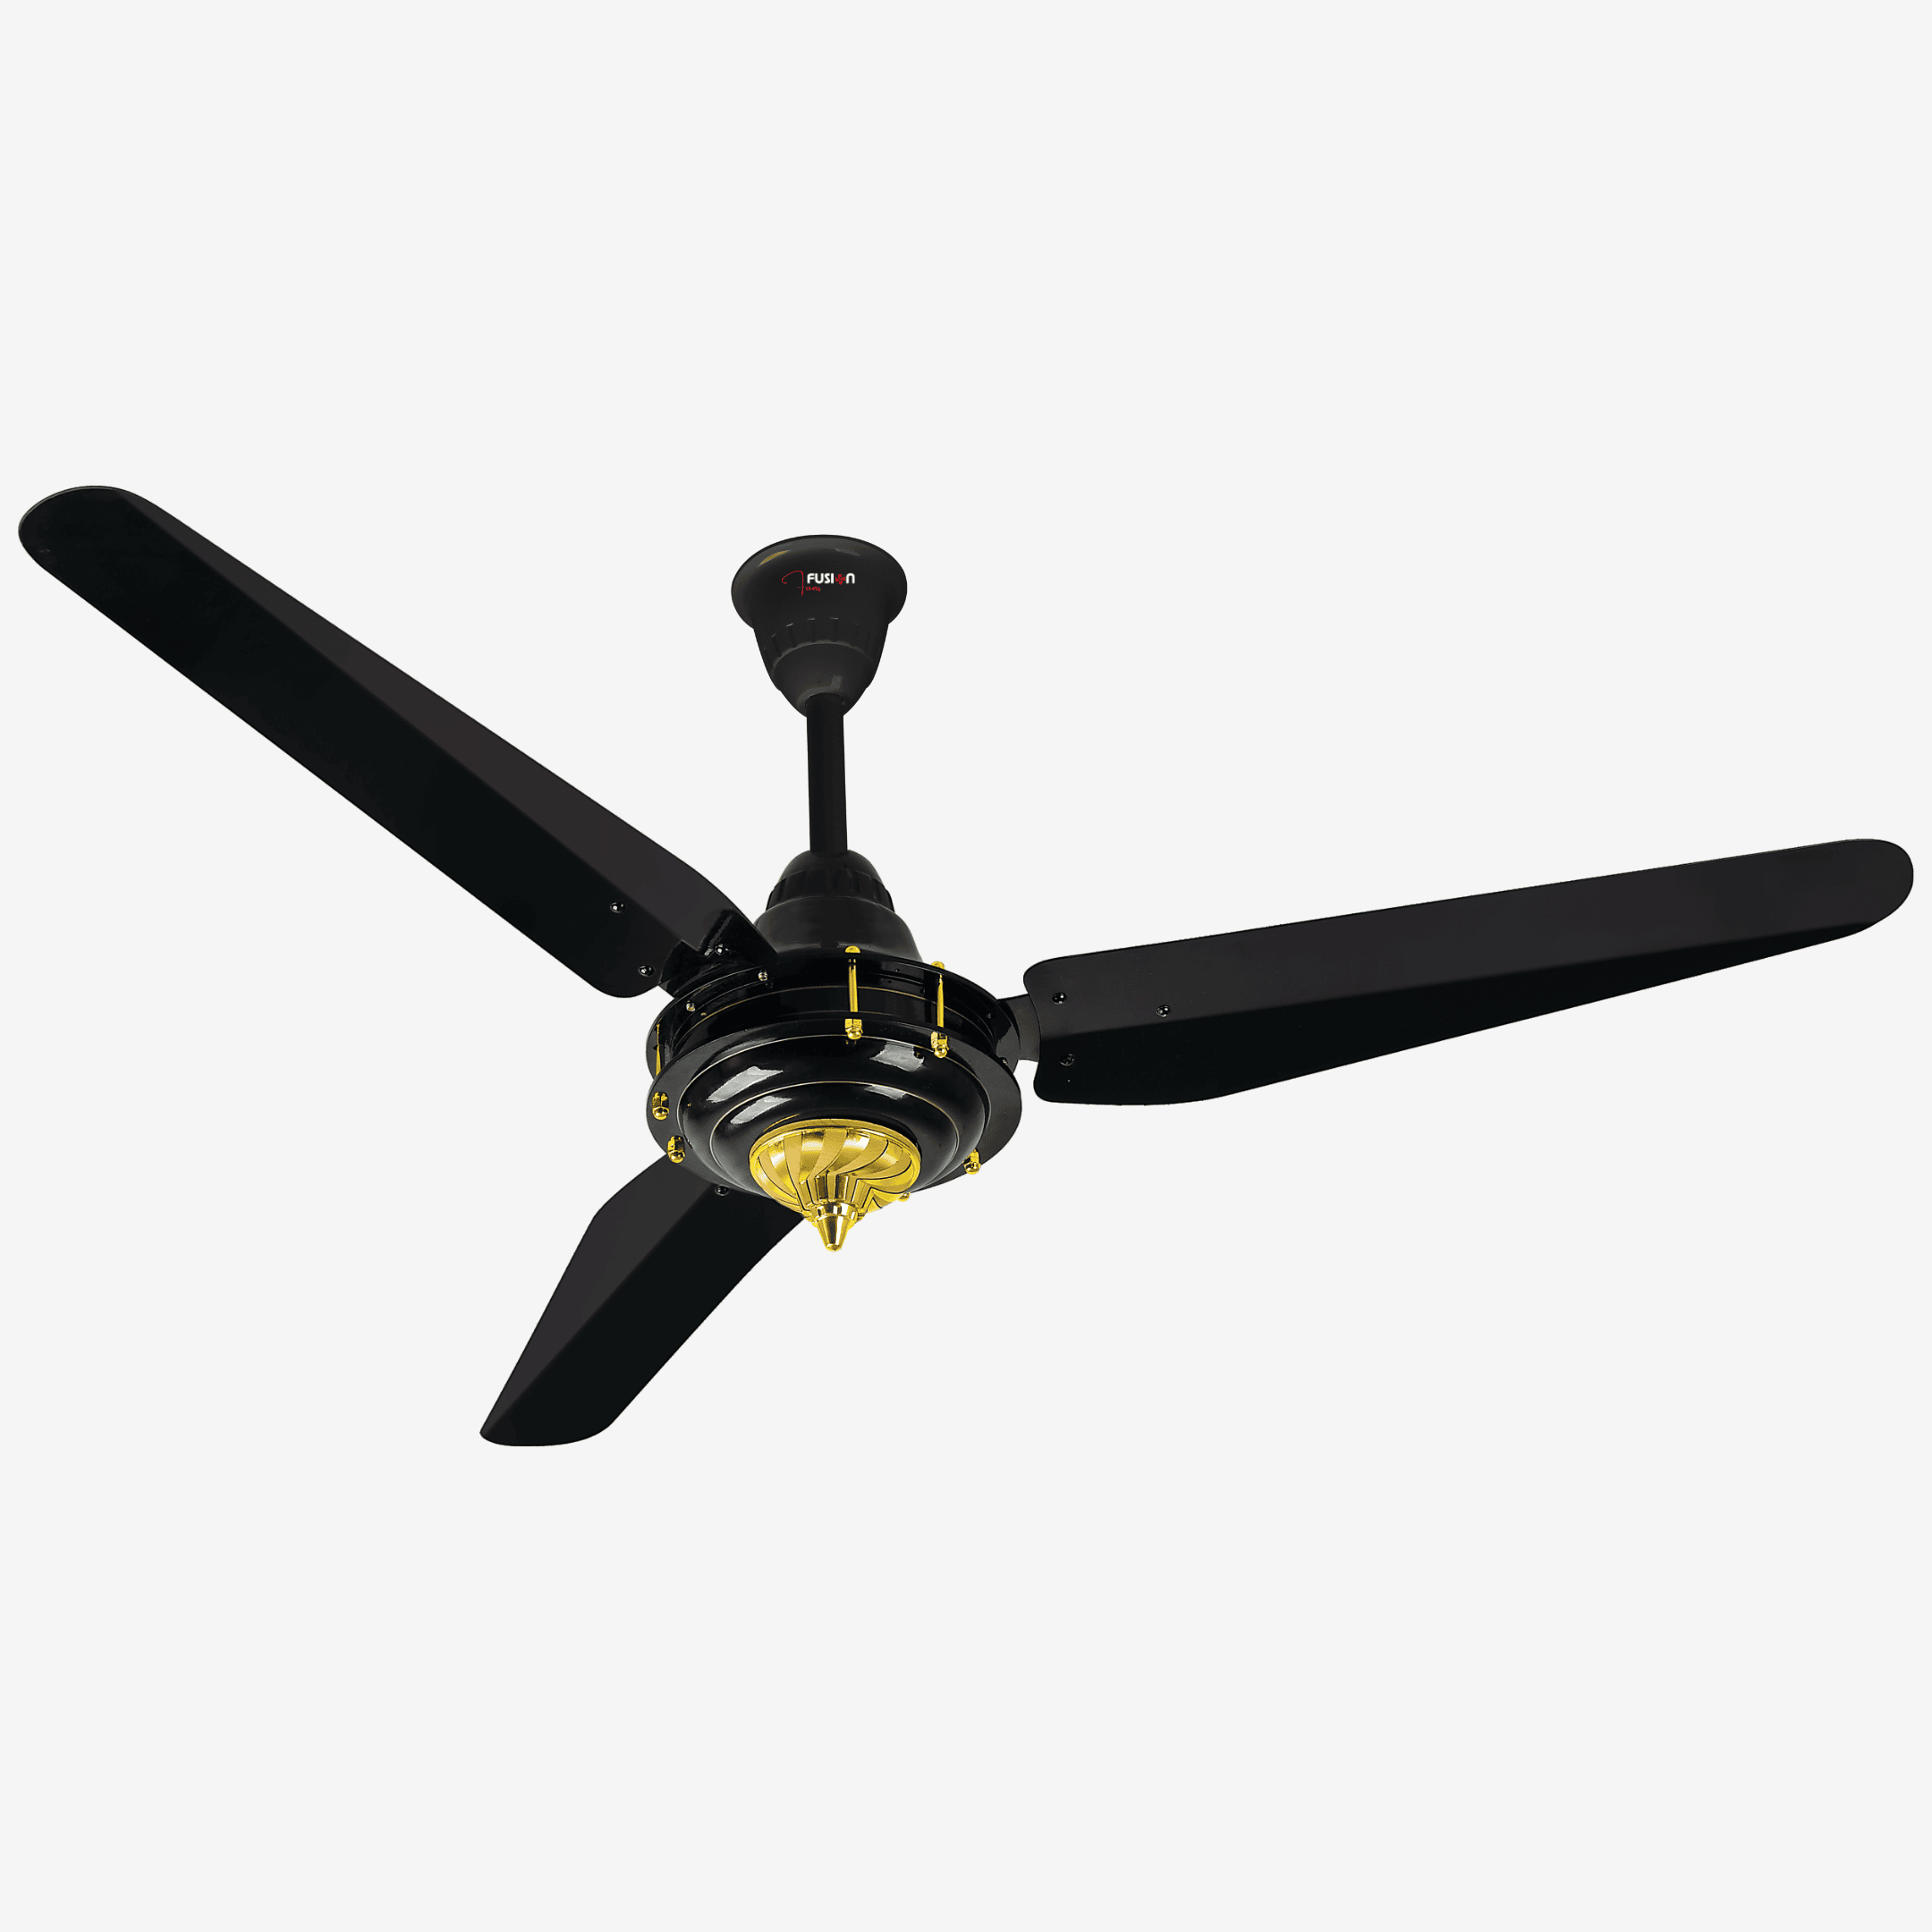
•Attach the Downrod (if using): Connect the downrod to the fan’s motor unit and secure with screws and a locking pin. For low ceilings, you might use a flush mount instead.
•Install the Fan Blades: Attach the fan blades to the motor housing using the provided screws, making sure they’re firmly in place.
- 4. Wire the Fan
•Test the Wires: Use a voltage tester to ensure there is no electricity running to the wires.
•Connect Wires: Match the wires from the ceiling to the fan wires:
•Black (Live): Connects to the fan’s black wire.
•White (Neutral): Connects to the fan’s white wire.
•Green or Bare Copper (Ground): Connects to the fan’s grounding wire or screw.
•Secure Connections: Use wire connectors to secure each connection, then gently tuck the wires into the junction box.
- 5. Mount the Fan to the Bracket
•Lift and Hook: Carefully lift the fan and attach it to the mounting bracket. Most fans have a hook or groove to hold the fan temporarily while you secure it.
•Tighten Screws: Secure the fan to the bracket with screws, ensuring it’s stable and doesn’t wobble.
- 6. Install the Light Kit (If Applicable)
•Connect Light Wires: Connect the light kit wiring to the fan, typically matching colored wires as instructed in the manual.
•Attach the Light Kit: Secure the light kit to the fan housing with screws.
- 7. Test the Fan
•Restore Power: Turn the circuit breaker back on.
•Test Operation: Turn on the fan and check that it runs smoothly at different speeds. Test the light kit if one is installed.
Tips
•Check for Wobbling: If the fan wobbles, ensure all screws are tight and that blades are balanced.
•Use Manufacturer Instructions: Follow any specific instructions provided with your fan model for the best results.
PRODUCT WARRANTY
PRODUCT WARRANTY
Terms And conditions
AC Ceiling Fan motors are covered by a 2 years repair warranty starting from the purchase date, subject to specific terms
1. Warranty Duration: Most fusion fans have a warranty period ranging from 2 years for the entire unit. The warranty for the motor may be longer, sometimes extending to a lifetime, depending on the manufacturer.
2.Coverage Details:
•Parts: The warranty usually covers defects in materials and workmanship for all major components, including the motor, blades, and any electronic controls.
•Labor: Some manufacturers include labor costs for repairs or replacements, while others may cover only the parts.
3.Exclusions:
•Improper Installation: Damage resulting from incorrect installation is generally not covered.
•Misuse: Any damage caused by misuse or abuse of the fan is typically excluded.
•Natural Disasters: Warranties generally do not cover damages from natural disasters like floods or earthquakes.
•Normal Wear and Tear: Issues arising from regular use over time are often not included.
•Unauthorized Repairs: Any repairs made by unauthorized service providers may void the warranty.
4.Registration: Many manufacturers require customers to register their fusion fan online to activate the warranty. This can usually be done through the manufacturer’s website.
5.Claim Process:
•Documentation: Keep the original receipt and warranty information for claims.
•Contact Manufacturer: In case of a defect, contact the manufacturer’s customer service for guidance on how to proceed with a warranty claim.
6.Variations by Brand: Warranty policies can vary significantly between brands and models, so it’s essential to review the specific warranty terms for the fusion fan you purchase.
7.Replacement Warranty is valid for 10 Days only from the date of purchase after that product will be replaced instead charges will bi applied for any components repair and replacement.
Tips for Warranty Use:
•Read the Warranty Policy: Understand the coverage and limitations outlined in the warranty policy.
•Keep Documentation: Save your receipt and warranty card for reference when filing a claim.
HOW TO CONNECT
HOW TO CONNECT
- Power: Switch off electricity.
- Bracket: Install ceiling bracket.
- Fan Parts: Assemble motor and blades.
- Wiring: Connect Black, White, Green/Bare wires.
- Fan: Attach to bracket.
- Light Kit: Add if present.
- Testing: Turn power back on and test.
Ahmad –
Great work
Shahzaib Hassan –
Great product go for it!! Awesome speed and no sound.
Best budget friendly fan one can look for. Highly
recommended.. also the packaging was good.