Terms And conditions
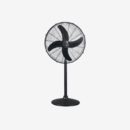
AC Pedestal Fans motors are covered by a 2 years repair warranty starting from the purchase date, subject to specific terms
1. Warranty Duration: Most fusion fans have a warranty period ranging from 2 years for the entire unit. The warranty for the motor may be longer, sometimes extending to a lifetime, depending on the manufacturer.
2.Coverage Details:
•Parts: The warranty usually covers defects in materials and workmanship for all major components, including the motor, blades, and any electronic controls.
•Labor: Some manufacturers include labor costs for repairs or replacements, while others may cover only the parts.
3.Exclusions:
•Improper Installation: Damage resulting from incorrect installation is generally not covered.
•Misuse: Any damage caused by misuse or abuse of the fan is typically excluded.
•Natural Disasters: Warranties generally do not cover damages from natural disasters like floods or earthquakes.
•Normal Wear and Tear: Issues arising from regular use over time are often not included.
•Unauthorized Repairs: Any repairs made by unauthorized service providers may void the warranty.
4.Registration: Many manufacturers require customers to register their fusion fan online to activate the warranty. This can usually be done through the manufacturer’s website.
5.Claim Process:
•Documentation: Keep the original receipt and warranty information for claims.
•Contact Manufacturer: In case of a defect, contact the manufacturer’s customer service for guidance on how to proceed with a warranty claim.
6.Variations by Brand: Warranty policies can vary significantly between brands and models, so it’s essential to review the specific warranty terms for the fusion fan you purchase.
7.Replacement Warranty is valid for 10 Days only from the date of purchase after that product will be replaced instead charges will bi applied for any components repair and replacement.
Tips for Warranty Use:
•Read the Warranty Policy: Understand the coverage and limitations outlined in the warranty policy.
•Keep Documentation: Save your receipt and warranty card for reference when filing a claim.


Ayesha –
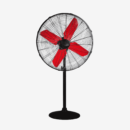
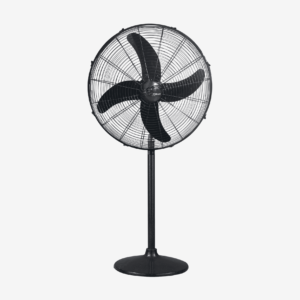
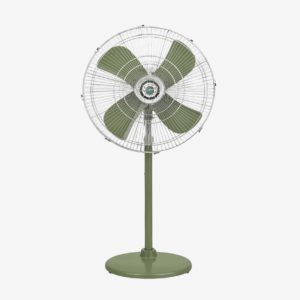
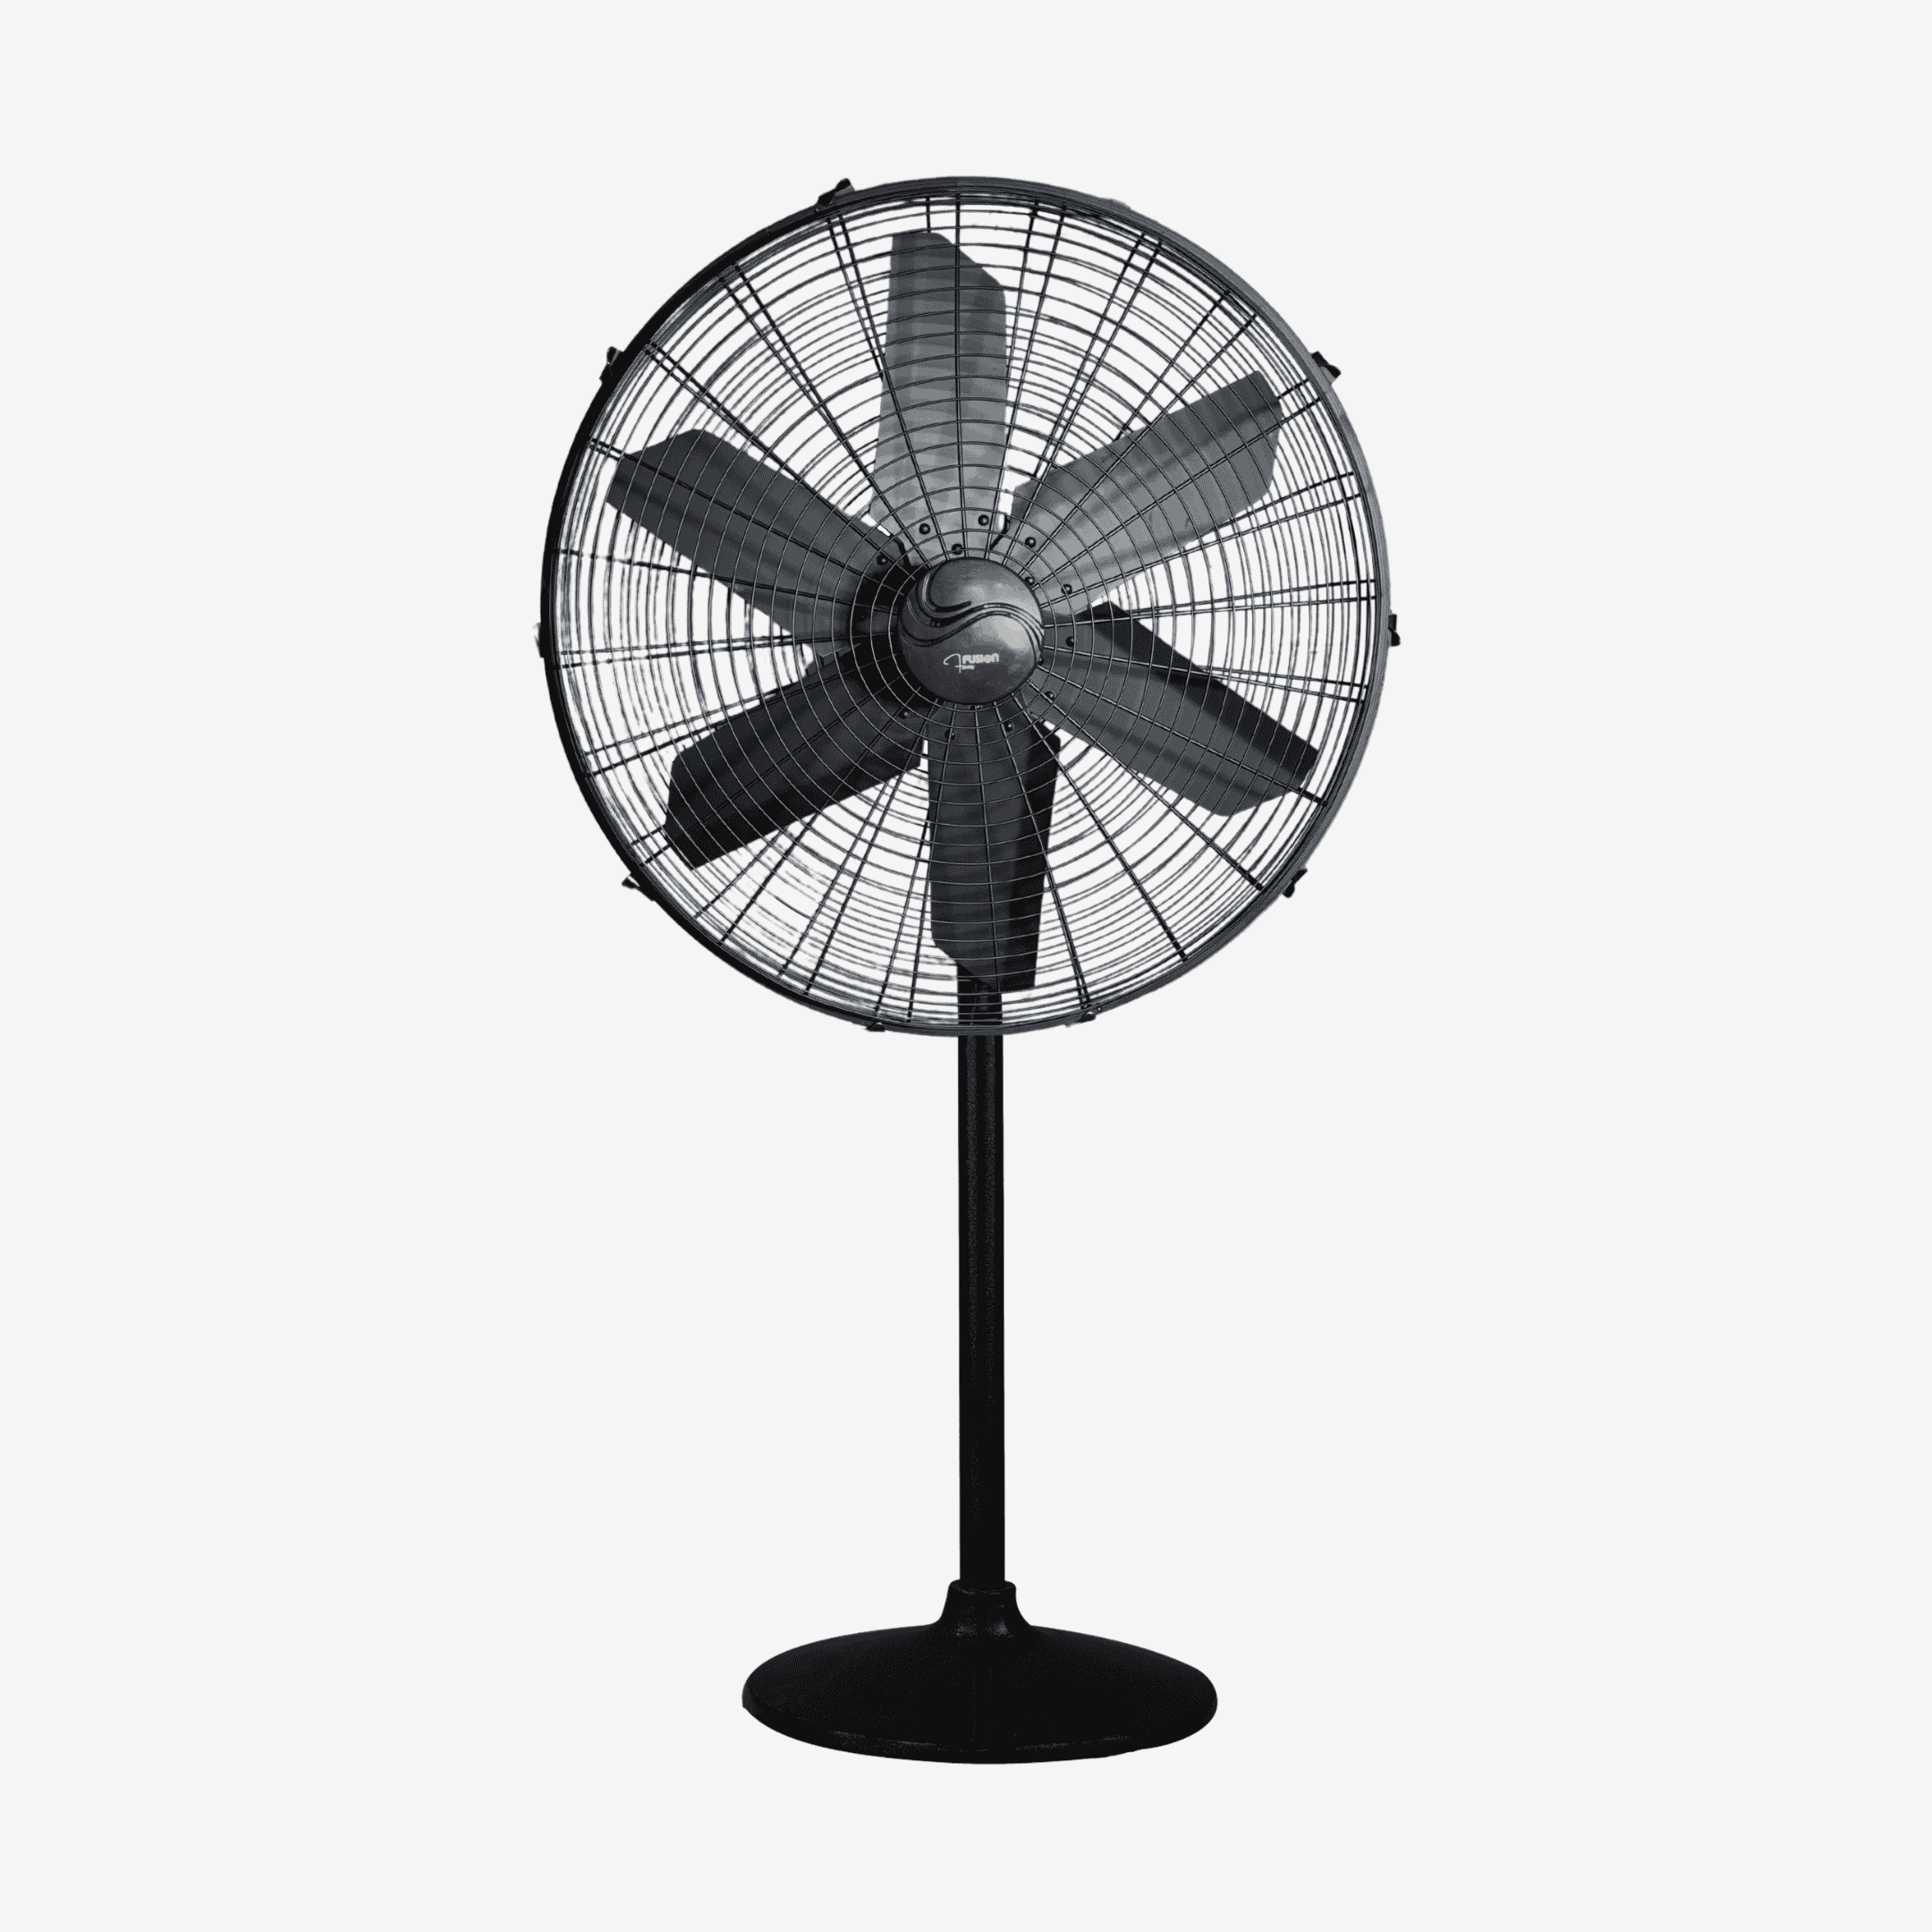
My first purchase was a 6 blade fan and it looks and works perfectly.